Tuesday, August 27, 2013

My Lovely Bridal Shower...

...mostly pictures, but hey, that's the fun part, right?

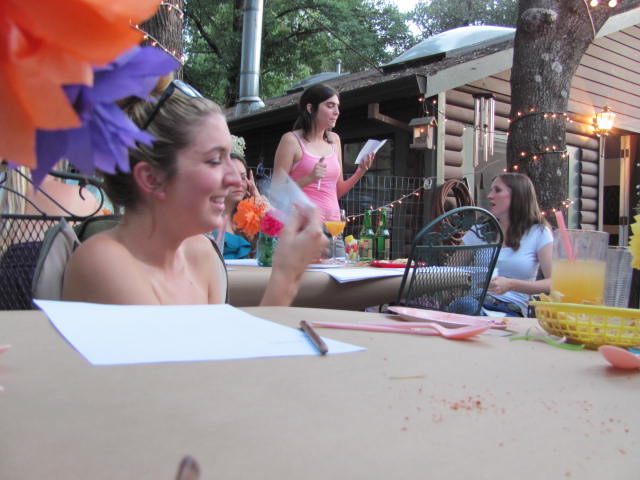
So my bridal shower was fantastic! Yes, I was super stressed out and I do wish that I could've had like 15 more minutes to reapply my makeup before my guests started arriving... but after a long day, a cousin's baby shower in the morning and a horrible migraine to top it off, I eventually relaxed and drank numerous glasses of sangria!

My mom, sister (and maid of honor), Annah and I arrived back at my mother's house one hour before my shower was supposed to start and went into power mode. My other sister, Kristen, arrived at the same time and was our saving grace, she took care of and prepared ALL of the food while my mom and Annah set up everything else and I put my unwashed hair up in a sock bun... I guess there is no time for a shower when there are wine bottles to be opened!

With little direction, my mom and sis rifled through my many grocery bags full of random decor and somehow managed to set everything up exactly how I imagined my shower. I don't know how it was all done in under and hour... we literally did almost nothing the night before except hang up the twinkle lights! Wait... scratch that... I did wake up at 5 am in the morning to sounds of electric beaters and my mom was in the kitchen making red velvet cake... she hadn't even gone to bed yet after getting home from a late shift at work! Sadly, the cake didn't even turn out... poor ma... 3 boxes of cake (and sleep!) wasted!

Despite the craziness that was "pre-shower" once the guests started showing up, everything mellowed out and we were able to relax, eat, drink and play a few games!

A special thanks to my momma and my sisters for all of their help... it was the best shower a bride could ask for!

Sangria Station


The Taco Bar

Our tissue paper center pieces


Aunts and Cousins!


Dolly and I

My cousin Jenna and I


A few of my best friends and bridesmaids

James' grandma, mother and sister


Jenna made my beautiful rehearsal dinner bouquet... literally the PRETTIEST one I have ever seen!
The bouquet!
The maid of honor and I after the festivities


DIY: Bachelorette "Cheers Bitches" Tumblers

I wanted to make some sort of gift or party favor for each one of the lovely ladies who joined me in Las Vegas for my bachelorette party and I stumbled upon these really cute custom plastic tumblers on Etsy and thought, "I can make those!" This is one of my favorite projects because, besides my invitations, it's one of the only wedding related things that I've actually seen put to use... and they definitely got put to use in Vegas! I figured it was the perfect accessory for my bachelorette weekend because I knew there would be a lot of pre-gaming in our hotel rooms and those tiny glasses they give you in your bathroom are just not enough! And what's the best part about Vegas??? You can drink everywhere!! So we took a lot of our in room drinks "to-go"!

So first I found the plastic tumblers I wanted in bulk... I'm not going to lie, it was hard finding them for a decent price but I finally did and was pleasantly surprised on the quality of the cups (despite a few bad reviews). I used my secret weapon (Michael's coupons) to purchase all the vinyl and transfer paper and of course my trusty Silhouette Cameo craft cutter to do all the cutting... obviously, this task would be pretty difficult without my Cameo!

Plastic tumbler (sans straw) from Amazon

Pink and black vinyl and transfer paper
Creating the art work on Illustrator
Loading up the Cameo
Some of the vinyl cut out with the negative space already peeled off

Some pink (that's what she said)
The girls names

Using the transfer paper...


... peeling it off!
The finished product (front)

All the ladies

Close up of the names (back)
I did have to bring along an extra suitcase to fit all the tumblers in and some of them did get a few cracks in them during the flight (that was my bad, I should have cushioned them better) BUT overall, they were a hit and definitely assisted us in getting drunk all weekend!


Cost of Tumblers = $37.49 for 12
Cost of Vinyl & Transfer paper = $3 each x 3 ($9.99 each with 40% off coupon, and I only used about half of these supplies)
Total cost for 11 custom bachelorette party tumblers = $46.50, or a little over $4 each!

Being able to walk on the street and drink liquor = PRICELESS!!

 (Plus, I had one leftover tumbler, which I will for sure used a TON!)

Tuesday, July 30, 2013

DIY: An Update of Mom's wedding dress

I like to say that my mom bought her wedding at a garage sale for $9.99... but only half of that is true, she bought it new for $9.99, an even better bargain!

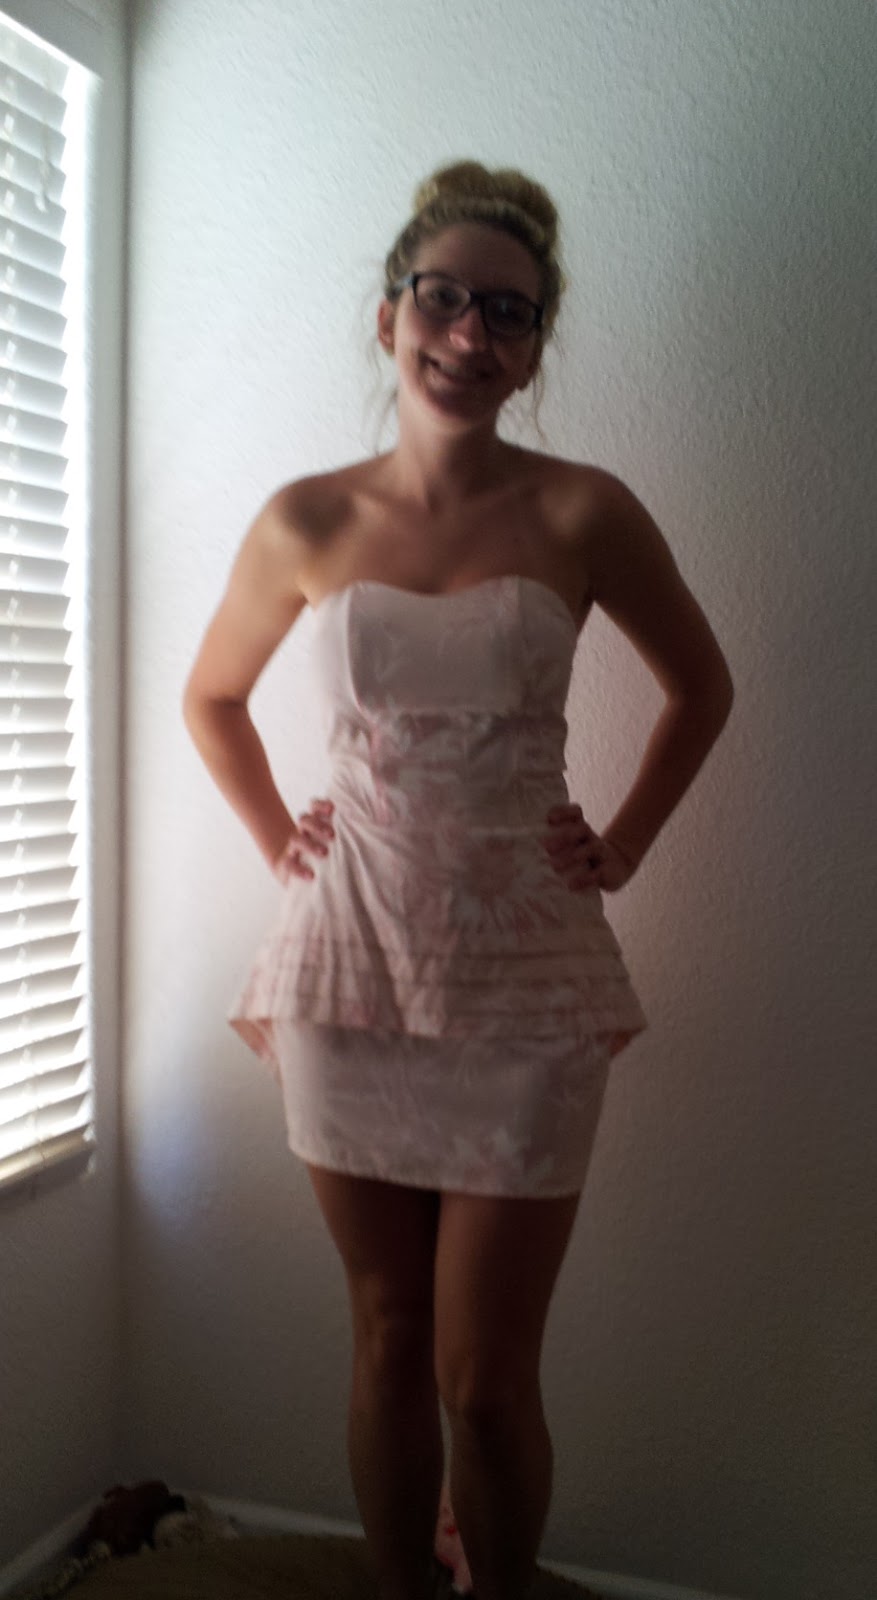
The fact that my mom's wedding dress was an un-traditional pink, and perfectly matched my wedding colors, made me want to find somewhere to fit it in to my wedding festivities.. and I found the perfect spot for it: at my bridal shower!

 But I knew I would have to do somewhat of an "updating" to it because it was just a bit long for my taste (and 2013 for that matter). There wasn't much too it, I just trimmed off a few inches and hemmed it! Luckily for me, the dress already fit perfectly so this DIY project took me about 5 minutes!

(Sorry about the crappy pictures, I just had my phone and nobody to else around to help me!)


Before - front


Before - side

After - front
After - back

After - side


James came home and took a pic!


Monday, July 29, 2013

DIY: Succulent Centerpieces Face Lift


So it was over a month ago when I planted all of the succulents for our centerpieces and within a few weeks it was evident that they would eventually need a bit of a revamp. The first week after we planted them, there was a huge heat wave that scorched a few of the softer plants immediately (I don’t think those ones ever really stood a chance anyway… by week two, every single one of two certain succulent types were dead) Having never really grown succulents outdoors, I think we also over watered them the first week, but after I started noticing some of the leaves turning soft, I switched to every other day watering and ever since then, they have been doing great. But regardless of the plants now thriving, we still initially lost about a third of them in those first couple of weeks. Also, after finishing planting and weeks later realizing that they weren’t going to fill in as much as I wanted them to, I knew that they needed something else.

I decided to consolidate the small succulents that did survive to three per planter and then add a larger plant to each one to take up some space and add some height. First I decided to purchase two different succulent varieties, plant them and watch them for a week to make sure that they did well… and after my test plants turned out fine, I went out and bought some more! The finished product turned out much more satisfying to me as a “centerpiece”… the added height of the bigger plants looked so much better than just the smaller plants by themselves.
 
One of the boxes that completely survived... but still so sparse looking :(
One down, one struggling to live!
NADA!
...replanting...
The finished products
 
Lush! Hopefully they stay that way!
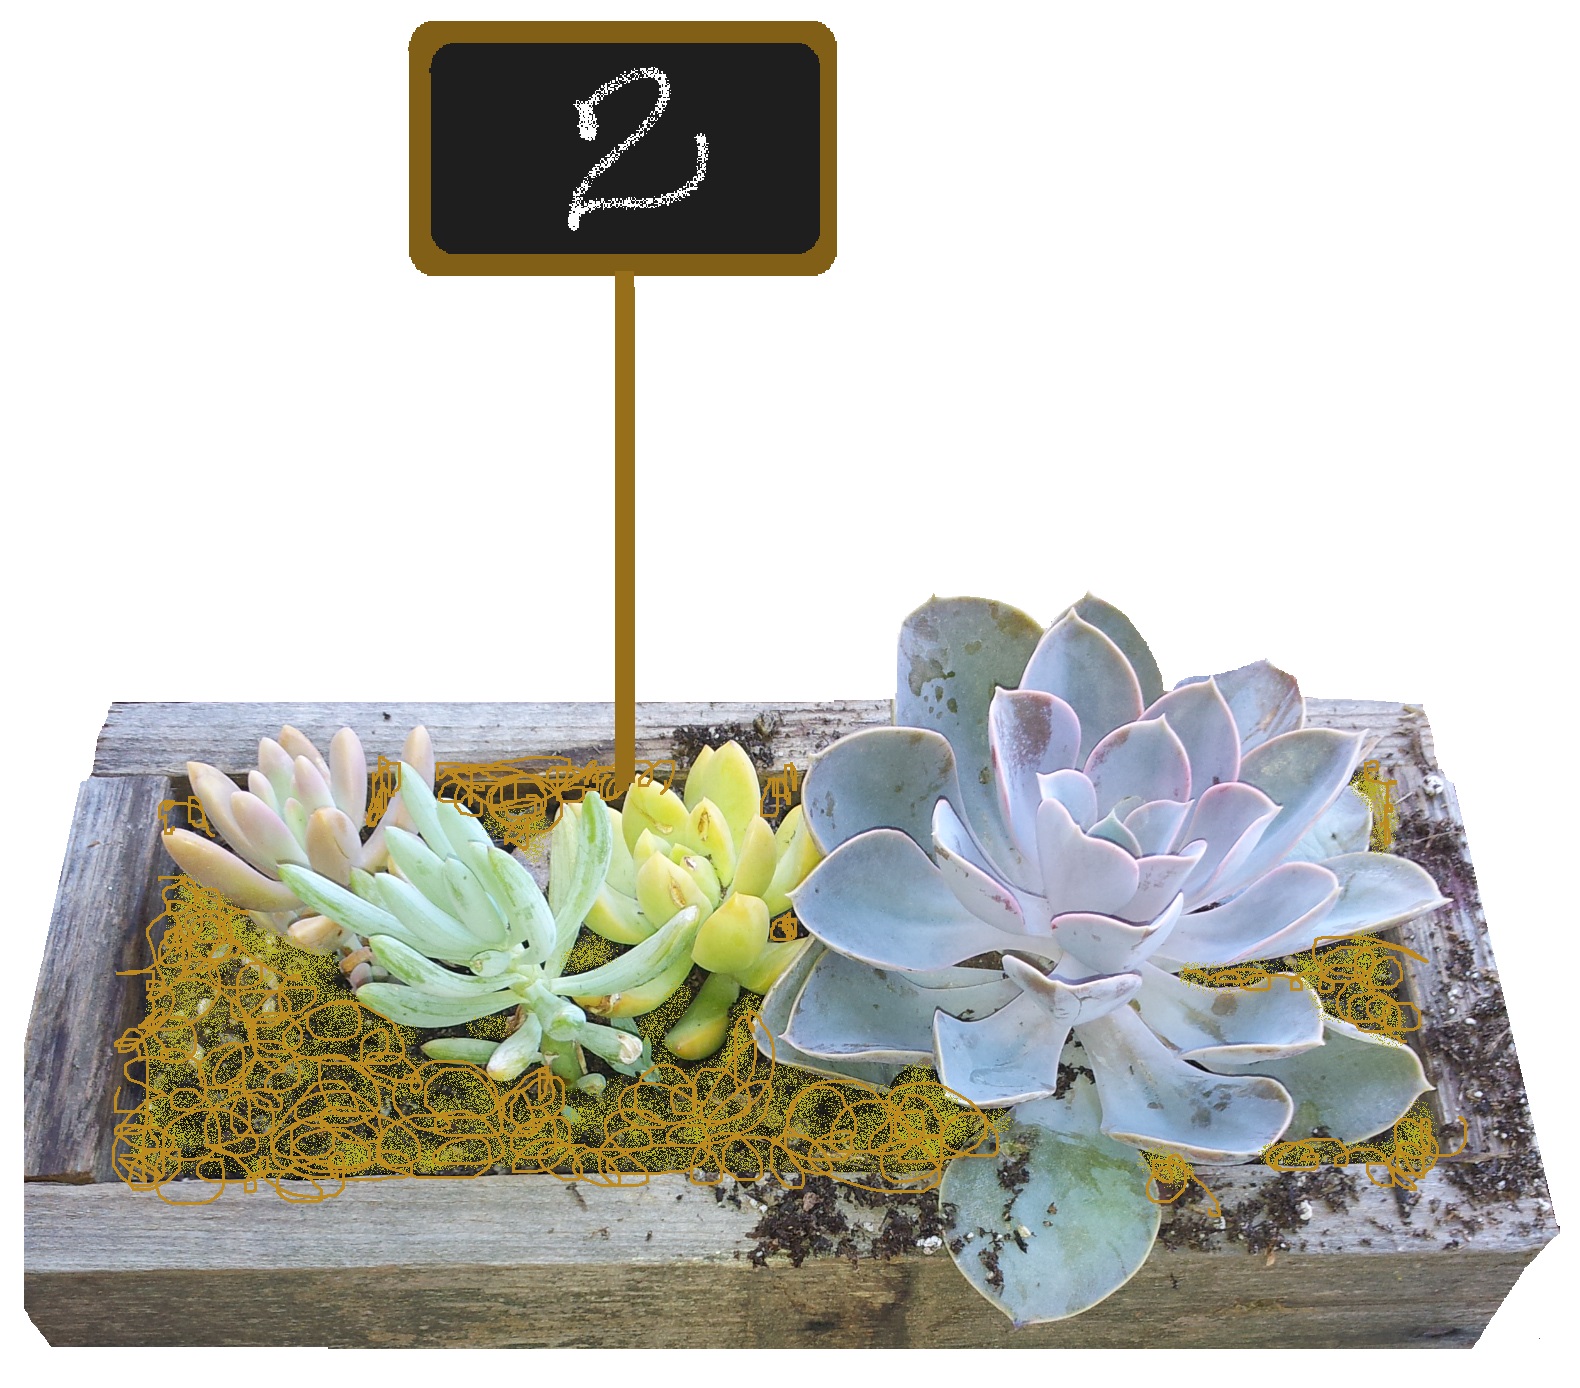
And here is my Microsoft-Paint-mock-up of the truly finished product, complete with moss and mini chalkboards with the table numbers! (minus all the soil mess)


Finger crossed that the new plants survive my gardening skills! 


Monday, July 1, 2013

DIY: Invitations

... and burlap & lace mason jar candle holders...

So this last weekend, I had a few of my bridesmaids over to help assembly our invitations. After many months of changing my invitation designs and ideas, I finally forced myself to have them printed so that we could get to work. I already posted about printing the outer envelopes and addressing them, and I had finished those a while back, so this weekend we worked on the pocket-fold portion.

One of my bridesmaids, Melanie, is particularly scrapbook savvy and she deserves full credit for setting up the assembly line and letting us know how inefficient our methods were. I'm not going to lie, I just sat back and drank beer (and fiddled with some wire on a mason jar for about 2 hours... but I'm not going to get into that).


While the invite girls were slicing and glue-ing and stuffing away, I sat up another bridesmaid working on spicing up some mason jars that I am going to use as candle holders. I bought a few yards of some burlap ribbon, as well as some cotton lace and she used a bit of hot glue to attach the ribbon to a few spare jars I had lying around!

Burlap & lace mason jar candle holder

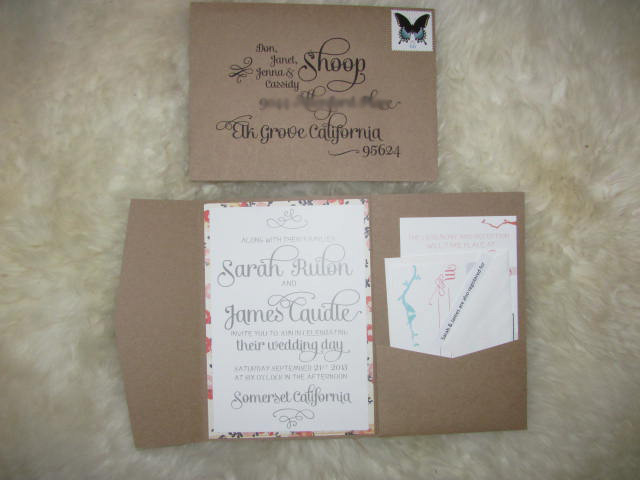
So here are the final invites, complete with reception card, RSVP cards and envelopes and our registry slips... I also tied the pocket-folds off with some cute string .


And finally a summary of how much these darned things cost me...

75 Recycled Envelopes & 75 Recycled Pocket-fold invites = $73
(including tax, shipping and handling, from paperandmore.com)

Pack of floral scrapbook paper used as backing = $10
(on sale at Micheal's)

2 packs of gray/white string ($99/ea) = $2
(with coupon at Micheal's)

1 can spray adhesive = $7
(with coupon at Micheal's)

Having a friend in the printing business = Priceless
(but if I had to estimate home printing, I would say that costs of ink and the white card stock would come out around $30-$40)

Total costs = $93... or let's just round it up to $100

So, at 75 invitations (not including postage) I only spent about $1.30 per invitation!

NOT BAD!!